-
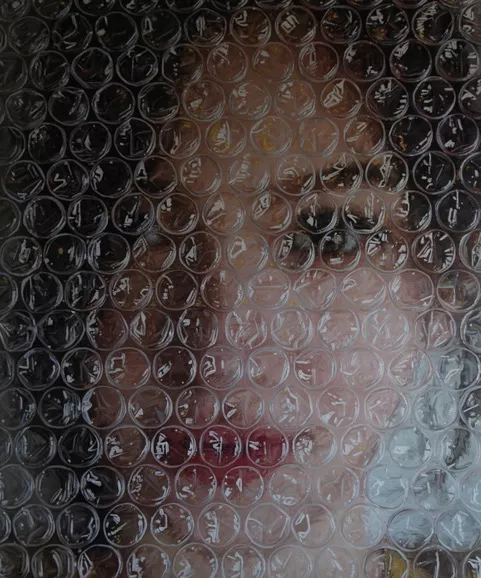
ArtistMederos Rodriguez Darian
TitleSophia Behind Bubble Wrap
-
Year2018
TechniqueOil on canvas
-
Size in cm183 x 152


ArtistMederos Rodriguez Darian
TitleSophia Behind Bubble Wrap
Year2018
TechniqueOil on canvas
Size in cm183 x 152

